Night Sky with Stars
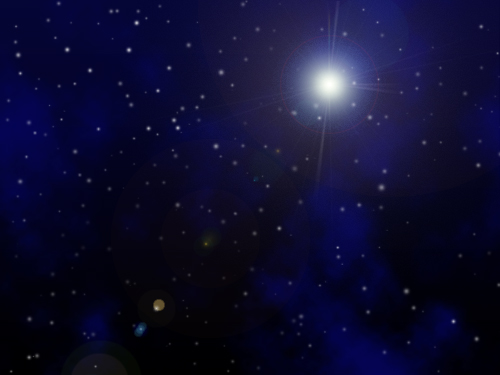
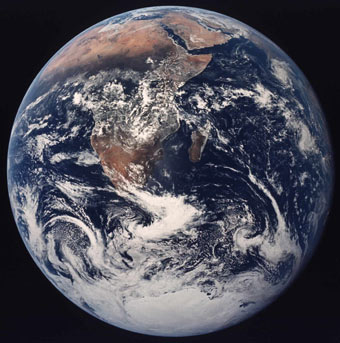
Serene and tranquil scenery of stars and a major sun and Earth. Worth seeing.
Also take a look at other Photoshop tutorials...
Flawless Collage of two Panorama photos | Sparkling stars effect | Weathered stamp/flyer | Learn to use Quick Mask | Crumbled old paper texture |
Pages
Part V. - Even more details and finetuning
What about making something more lively. Something......a sun? Yes, we will make a sun, or a star in a closer proximity to us.
So, for this purpose, we will use Lens Flare but since the work just on a layer with some content, we will need to Flatten the image.
As I said, use Layer/Flatten Image to merge all layers into just one. Now, use Filter/Render/Lens Flare to make a....Lens Flare.
Anyone knows what a Lens Flare is? For those who dont, if you have a camera, its lens system consists of lenses (surprisingly) which cas a slight glow when you try to make a photo of something very bright, such as of a sun or lamp.
Anyway, my settings were: the third option, strength about 80.

I have an idea.

What I also did is that I used Layer Mask on the Earth layer and use black gradient in it, so that the bottom part of the earth will not be visible that much, or will be darker.
If you want to learn more about Layer Mask, check our All About Layer Mask tutorial.

And if you happen to have a good idea of a tutorial (that is REALLY yours), you might wish to send us the procedure in text form and/or pictures and we will place it on our site. Be proud of what you can do.
Pages
Submitted by Martin on 2006-05-09 10:56:23. Since then read 110360 times.
Scored 4.17 points out of maximum 5 by 99 votes.
Also take a look at other Photoshop tutorials...
Autumn leaves | Comet or Shooting Star | Bevel and Emboss tutorial | Crumbled old paper texture | Chrome effect |
Rate this tutorial!
Invite a friend!
Discussion
Francisco sisco027 AT netzero DOT com said on 2006-06-03 08:44:31Excellent tutorial, I'll be coming back for more. Thanks.
Martin mato AT t-tutorials DOT com said on 2006-06-05 21:18:26
I am glad to hear that! I deem some of our tutorials really tutorialling and really worth going through. Looking forward to seeing you here again :D
Hotaru hotaru209 AT gmail DOT com said on 2006-06-20 02:49:05
Pretty nice, but my suggestion is that you should have kept out the lens flare and picture of the earth. The stars and night don't look photorealistic, so an earth image like that looks out of place. Plus lens flares have a tendency to look gimmicky. Great tutorial though, the stars and nebula are the cool parts here anyway, and they turn out pretty well.
Tom said on 2006-09-21 09:52:35
Well actually I was expecting a little better when i found this tut i was actually searching for how to make an Earth and this came up so really this is a tut for star making with an Earth pasted in the middle....just my opinion ~Tom
bill wewew AT hotmail DOT com said on 2006-11-15 13:59:38
i only used up to the stars and nebula, but it was still great
Moses said on 2007-03-14 09:12:25
Excellent tutorial but got stuck at the nebula part. Was unclear how to get it rendered like the image, and with the gradiant part of the earth in the layer mask.

