Making tiles
To fill a larger image with smaller pattern can be so easy!
Also take a look at other Photoshop tutorials...
Weathered stamp/flyer | Autumn leaves | Learn to use Quick Mask | Dewy window | Blue Matter |
Making Tiles
1. Roughly all parts of the picture should be of similar lightness
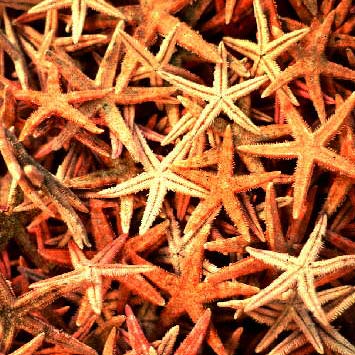
2. Filter/Other/Offset, where you use approximately half the size of the picture (picture 340x34O, here use offset 170x170)
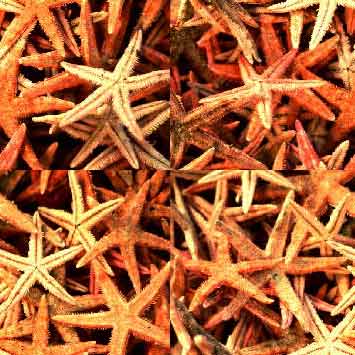
3. Boundaries are visible in the middle, the aim is to remove them using laso, clone stamp, healing brush, blur tool.
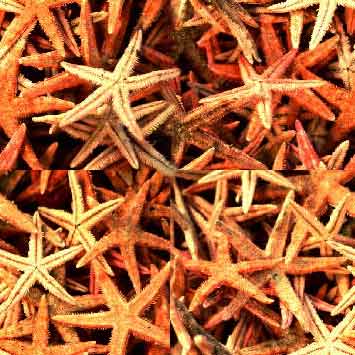
When the first one is done, move to the next one. Try to make the joints look natural.
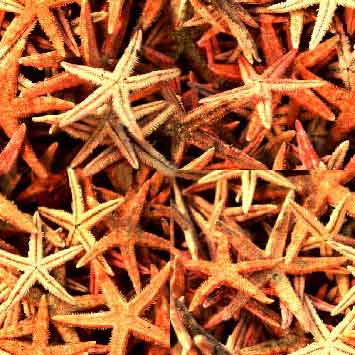
Is that natural? I am not sure myself, so learn from my mistakes, will you?
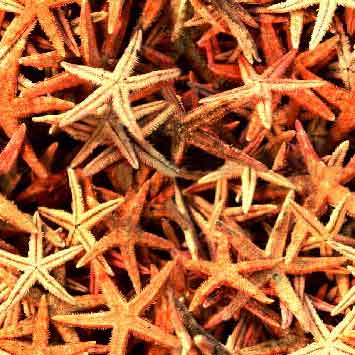
One thing to remember, do not interfere with the edges of the picture when retouching.
(You can also copy and paste parts you need from the original picture, in this case arm of the starfish.)
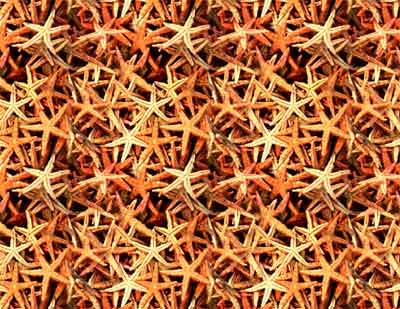
Enjoy.
And if you happen to have a good idea of a tutorial (that is REALLY yours), you might wish to send us the procedure in text form and/or pictures and we will place it on our site. Be proud of what you can do.
If you liked this tutorial (or even if you didnt :) please make a Comment and Vote in the section below.
Thank you.
Submitted by Martin on 2006-03-23 15:09:09. Since then read 21685 times.
Scored 4.2 points out of maximum 5 by 25 votes.
Also take a look at other Photoshop tutorials...
Pre-press tips for Photoshop users | Red Glass Button | Night Sky with Stars | Making abstract wallpaper | Bevel and Emboss tutorial |
Rate this tutorial!
Invite a friend!
Discussion
Sukhchain Singh sukh4ever AT hotmail DOT com said on 2008-02-14 04:26:34Hi!!!!!!!!!! Very good jobs might. I appreciate your skills and efforts.

