Slim button
Slim one with the shadow behind, possibly with 3D shadow.
Also take a look at other Photoshop tutorials...
Night Sky with Stars | Making colorful web site template | Modern Art in Blue | Pre-press tips for Photoshop users | Comet or Shooting Star |
Slim button
1. Make new layer.
2. Use rounded rectnagle tool, swich on fill pixels on the top let and to make slim rectangle

3. Edit/Free transform, or Ctrl+T, and with holding Shift, click on bottom two corner points
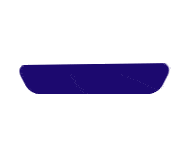
4. Double click on the layer to call Layer style window, set as following
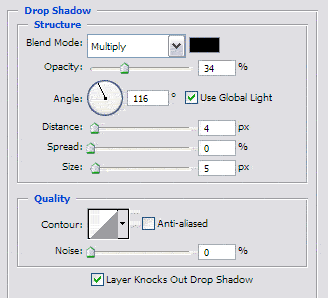
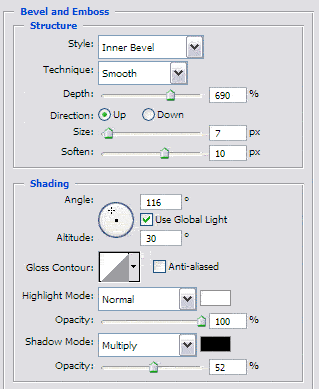
(in Color Overlay section set color to 6dfae5b)

5. Here it is, nice piece of plastic.
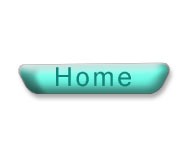
What I also did is I created layer from the effects, and transformed the drop shadow one a bit.
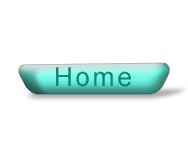
Enjoy.
And if you happen to have a good idea of a tutorial (that is REALLY yours), you might wish to send us the procedure in text form and/or pictures and we will place it on our site. Be proud of what you can do.
If you liked this tutorial (or even if you didnt :) please make a Comment and Vote in the section below.
Thank you.
Submitted by Martin on 2006-03-23 14:34:30. Since then read 22441 times.
Scored 2.82 points out of maximum 5 by 22 votes.
Also take a look at other Photoshop tutorials...
Gold and Diamond logo | Weathered stamp/flyer | Autumn leaves | Comet or Shooting Star | All about Layer Mask |
Rate this tutorial!
Invite a friend!
Discussion
Anonymous said on 2006-04-20 02:25:24thats the best you can come up with. what a lame tutorial, Is this your first time using photoshop?
Martin mato AT t-tutorials DOT com said on 2006-04-20 12:01:30
Thank you for expressing your opinion. I must admit that I tried to make only a few button tutorials and I know that they are not that excellent. We try to have something in every section. If you didnt like this one, that is your opinion. I deem you should be more tolerant though. I dont question your ultimate skills in PS, you surely ase an awesome person and graphic.

